Galerie Des Cartes Portail : Différence entre versions
De Horreur à Arkham
m (Paramètres de Tableau pour les cartes Portails) |
m (tri des cartes) |
||
| Ligne 1 : | Ligne 1 : | ||
| + | == Horreur à Arkham == | ||
<br> | <br> | ||
<center><gallery caption="Galerie des Cartes Portail" widths="200px" heights="300px"> | <center><gallery caption="Galerie des Cartes Portail" widths="200px" heights="300px"> | ||
| Ligne 50 : | Ligne 51 : | ||
Image:CP124.jpg | Image:CP124.jpg | ||
Image:CP129.jpg | Image:CP129.jpg | ||
| + | </gallery></center> | ||
| + | |||
| + | == La Malédiction Du Pharaon Noir == | ||
| + | <br> | ||
| + | <center><gallery caption="Galerie des Cartes Portail" widths="200px" heights="300px"> | ||
Image:CP023.jpg| [[Image:Icone2.jpg|La Malédiction Du Pharaon Noir]] | Image:CP023.jpg| [[Image:Icone2.jpg|La Malédiction Du Pharaon Noir]] | ||
Image:CP025.jpg| [[Image:Icone2.jpg|La Malédiction Du Pharaon Noir]] | Image:CP025.jpg| [[Image:Icone2.jpg|La Malédiction Du Pharaon Noir]] | ||
| Ligne 77 : | Ligne 83 : | ||
Image:CP128.jpg| [[Image:Icone2.jpg|La Malédiction Du Pharaon Noir]] | Image:CP128.jpg| [[Image:Icone2.jpg|La Malédiction Du Pharaon Noir]] | ||
Image:CP132.jpg| [[Image:Icone2.jpg|La Malédiction Du Pharaon Noir]] | Image:CP132.jpg| [[Image:Icone2.jpg|La Malédiction Du Pharaon Noir]] | ||
| + | </gallery></center> | ||
| + | |||
| + | == L'Horreur De Dunwich == | ||
| + | <br> | ||
| + | <center><gallery caption="Galerie des Cartes Portail" widths="200px" heights="300px"> | ||
Image:CP001.jpg| [[Image:Icone1.jpg|L'Horreur De Dunwich]] | Image:CP001.jpg| [[Image:Icone1.jpg|L'Horreur De Dunwich]] | ||
Image:CP005.jpg| [[Image:Icone1.jpg|L'Horreur De Dunwich]] | Image:CP005.jpg| [[Image:Icone1.jpg|L'Horreur De Dunwich]] | ||
| Ligne 109 : | Ligne 120 : | ||
Image:CP127.jpg| [[Image:Icone1.jpg|L'Horreur De Dunwich]] | Image:CP127.jpg| [[Image:Icone1.jpg|L'Horreur De Dunwich]] | ||
Image:CP130.jpg| [[Image:Icone1.jpg|L'Horreur De Dunwich]] | Image:CP130.jpg| [[Image:Icone1.jpg|L'Horreur De Dunwich]] | ||
| + | </gallery></center> | ||
| + | |||
| + | == Le Roi En Jaune == | ||
| + | <br> | ||
| + | <center><gallery caption="Galerie des Cartes Portail" widths="200px" heights="300px"> | ||
Image:CP013.jpg| [[Image:Icone3.jpg|Le Roi En Jaune]] | Image:CP013.jpg| [[Image:Icone3.jpg|Le Roi En Jaune]] | ||
Image:CP015.jpg| [[Image:Icone3.jpg|Le Roi En Jaune]] | Image:CP015.jpg| [[Image:Icone3.jpg|Le Roi En Jaune]] | ||
| Ligne 133 : | Ligne 149 : | ||
Image:CP123.jpg| [[Image:Icone3.jpg|Le Roi En Jaune]] | Image:CP123.jpg| [[Image:Icone3.jpg|Le Roi En Jaune]] | ||
Image:CP131.jpg| [[Image:Icone3.jpg|Le Roi En Jaune]] | Image:CP131.jpg| [[Image:Icone3.jpg|Le Roi En Jaune]] | ||
| + | </gallery></center> | ||
| + | |||
| + | == L'Horreur De Kingsport == | ||
| + | <br> | ||
| + | <center><gallery caption="Galerie des Cartes Portail" widths="200px" heights="300px"> | ||
Image:CP133.jpg| [[Image:Icone4.jpg|L'Horreur De Kingsport]] | Image:CP133.jpg| [[Image:Icone4.jpg|L'Horreur De Kingsport]] | ||
Image:CP134.jpg| [[Image:Icone4.jpg|L'Horreur De Kingsport]] | Image:CP134.jpg| [[Image:Icone4.jpg|L'Horreur De Kingsport]] | ||
Version du 4 janvier 2010 à 10:59
Sommaire
Horreur à Arkham
- Galerie des Cartes Portail


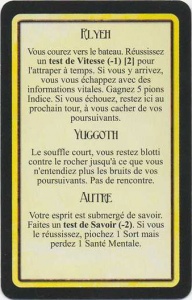


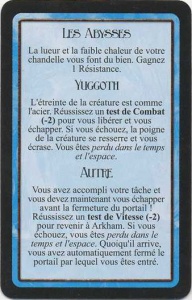
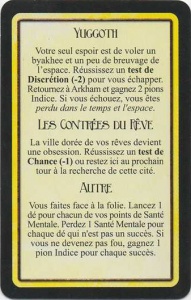


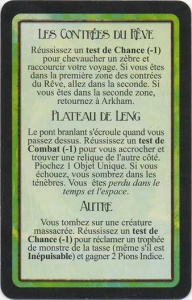


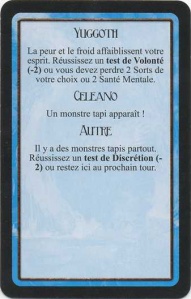
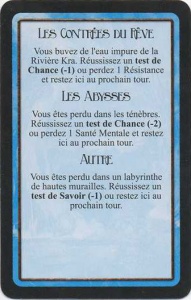


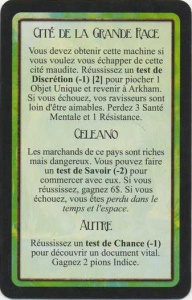
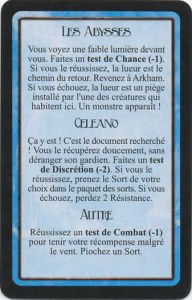






La Malédiction Du Pharaon Noir
- Galerie des Cartes Portail

Version corrigée La Malédiction Du Pharaon Noir *


L'Horreur De Dunwich
- Galerie des Cartes Portail


Le Roi En Jaune
- Galerie des Cartes Portail


L'Horreur De Kingsport
- Galerie des Cartes Portail


